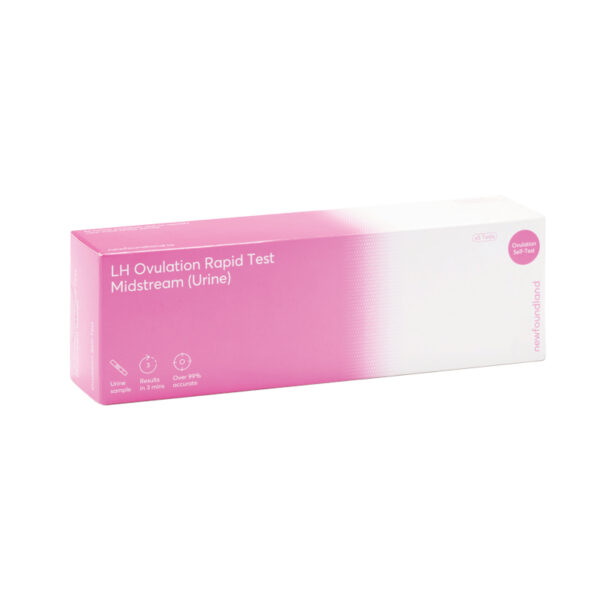
Ovulation Self Test Kit

£9.99

Ovulation predictor kits are an easy-to-use tool for women trying to conceive.

Category:

Ovulation predictor kits are an easy-to-use tool for women trying to conceive. By detecting LH levels in urine, they can accurately pinpoint the fertile window and increase the chances of conception.

Trying to conceive a child can be an exciting and emotional journey for many couples. However, it can also be a stressful and overwhelming experience, particularly when it comes to pinpointing the optimal time for intercourse. This is where ovulation predictor kits can be incredibly helpful.

The science behind ovulation is relatively simple. Ovulation typically occurs midway through a woman’s menstrual cycle, and during this time, the body releases a surge of luteinising hormone (LH). This surge triggers the release of an egg from the ovary and marks the optimal time for conception. However, LH levels in the body can be difficult to track, and many women may find it challenging to accurately pinpoint their fertile window.

This is where ovulation predictor kits come in. By detecting the presence of LH in a woman’s urine, these tests can help to identify the exact moment of ovulation. Ovulation predictor kits are designed to be easy to use, and their testing format is similar to many pregnancy test kits.

Instructions

To gather and analyse your sample, follow these simple steps:

Using an ovulation predictor kit is a straightforward process that requires attention to detail to ensure accurate results. Here is a step-by-step guide on how to use an ovulation predictor kit correctly:

1. Determine the correct day to start testing based on your menstrual cycle.
2. Bring the pouch to room temperature and open it. Note that you need to use the midstream test within an hour of opening the pouch, so make sure you’re ready to urinate before opening it.
3. Remove the cap and place it over the thumb grip of the midstream test.
4. Hold the test by the capped thumb grip with the exposed tip pointing downwards and urinate directly onto it for at least 1-15 seconds, making sure the test is thoroughly soaked with urine.
5. Immediately replace the cap over the absorbent tip and lay it on a flat surface with the result window facing upwards.
6. Start a timer immediately and read the results at 5 minutes. As the test starts to work, you may observe a light flow moving across the test and control window, which is normal and indicates that the test is working correctly.
7. If no result appears, wait one more minute before reading the result. However, do not read the result after 10 minutes, as this may lead to inaccurate results.

Reviews

There are no reviews yet.

Only logged in customers who have purchased this product may leave a review.